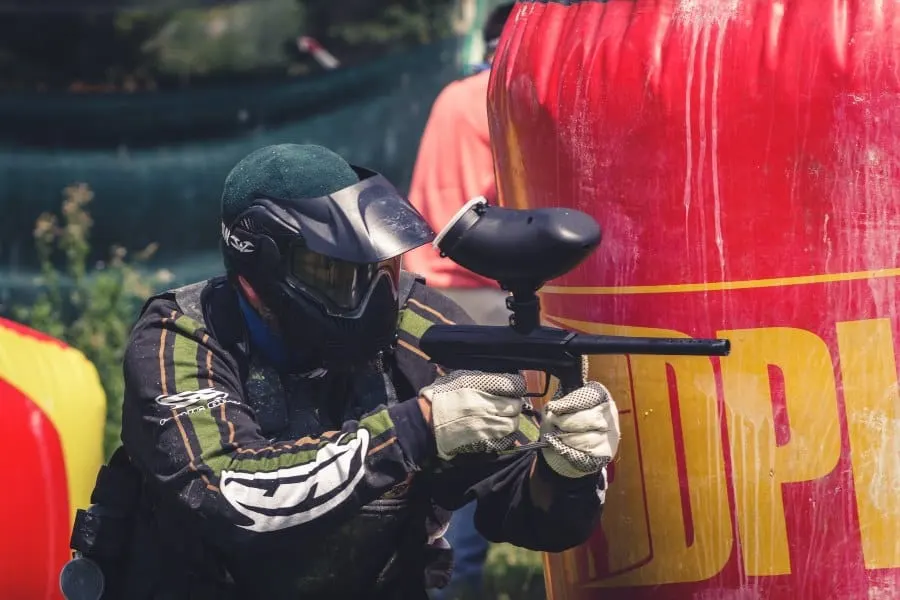
Do you want to know how to paint a paintball gun? If so, then you are in the right place. Paintball is an exciting game, but it can be even more fun when you have an awesome paintball gun.
Painting a gun might seem difficult, but it won’t be that challenging if you follow the instructions carefully and take your time.
Choosing the right type of paint and the appropriate tools is important before getting started. This article will teach you simple steps to paint a paintball gun.
How To Paint A Paintball Gun
Are you ready to take your game to the next level? If so, you may want to start by painting your paintball gun.
You can do this in many ways, depending on how much time and money you are willing to invest in this hobby.
The three common ways people paint their paintball guns include; anodizing, powder coating, and spray paint. We will discuss each method in detail and some of its pros and cons.
What do you need before you get started?
- Stencils
- A clear paint to protect the design
- Paper towel
- Spray paint
- A paint mask and safety goggles
- Clean, soapy water
- String, yarn, or fishing gut
- Painter’s tape
- 300-400 grit sandpaper
- Gloves
- A primer
- Cardboard box, big enough for the gun to hang freely
- Dowel
1. Anodizing
This refers to an electrochemical process where an oxide film is created on the metal surface (aluminum).
This process creates a surface that can resist wear and corrosion, and it’s very effective at preventing rust and flaking of paint. Additionally, it provides a high-gloss finish. This is a simplified flow of how the process takes place.
- Step 1: Clean your gun with soap and water and leave it to dry.
- Step 2: Submerge the gun in a solution of electrolyte (sulfuric or chromic acid) and secure it, so it doesn’t move.
- Step 3: Connect the gun to the positive terminal (anode).
- Step 4: Connect the negative terminal to a metal electrode (cathode)
- Step 4: Complete the circuit (switch on the switch) to allow electricity to pass through the circuit.
When the process begins, an electric current pushes the positive ions toward the negatively charged plate while the negative ions are pushed toward the aluminum (paintball gun). Consequently, aluminum reacts with the negative oxygen ions to grow a layer of aluminum oxide.
Advantages
- Offer a protective layer against corrosion and rust
- It’s extremely durable
- No flaking
Cons
- Very expensive
- It only works for aluminum metals
2. Powder coating
It works by applying dry color powder on the metal surface (in this case, your paintball gun) and then baking it in an oven to form a hard surface finish. The powder is applied electrostatically using a power gun, making the powder positively charged.
Advantages
- It can be used with all kinds of metals
- Long-lasting
- It gives bright color options
Disadvantages
- It’s available on a professional level
- Quite expensive
3. Spray Paint
Choose the color/pattern
First, you must choose the color or pattern of your paint job. There are many options, depending on what you’re planning on using your gun for and how much you’re willing to spend.
First, you can go for a solid color which would be great if you’re using your gun for a casual game of woodsball. However, if you plan on playing in tournaments, you might want to consider a pattern such as a camo.
Dissemble the gun
Once you’ve decided on a color, the next step is to disassemble your gun so you can prepare the areas that will be spray painted. Tanks, and barrels should all be taken apart to give room for painting.
This will allow you to get into the smaller areas of your gun and paint those as well. Remember to store the parts carefully.
This step only applies if you plan to spray specific parts of your gun. If you want to spray the gun as a whole, there is no need to dissemble.
Prepare the parts you want to spray
Once you’ve disassembled your gun and know which parts you want to paint, you must prepare them by sanding them with 300-400 grit sandpaper. After that, clean the parts with soap and water or rubbing alcohol.
This is important because you don’t want dirt or grime to get into the paint and ruin your job. Once the parts are clean, you need to let them dry.
Prepare the stencil
If you want to create a stencil for your design, you’ll need to do so before painting. A stencil is a great way to add a design to your gun without having to freehand the design. Once you have the stencil, secure it to the area of your gun you want to paint.
Tape areas you don’t want to paint
Before you spray, make sure you cover the areas of the gun you don’t want to spray paint such as the trigger since they are not supposed to be painted.
Secure the gun to paint
If you’re painting a more complex design that requires you to move the gun around to create the design, you might want to secure the gun to a surface like a table.
This will make it easier for you to paint the design accurately and consistently. You can also choose to hang up your gun or the part you want to paint from a ceiling to allow you to rotate the gun as you paint it freely.
Apply primer paint
When painting a new surface, you first need to apply a primer to protect the surface, seal the pores of the surface, and make the paint stick better. Spray the primer in light, even strokes so the paint does not get too thick in some areas.
Apply your desired paint
Once the primer is dry, you can begin applying your desired paint. Once again, spray the paint in light, even strokes. If you want a more even coat of paint, you can apply a second coat once the first coat is dry. Give the paint some time to dry.
Remove the stencils
After giving the paint some time to dry, it’s time to remove the stencils and see the magic you have done. Remember that if you have chosen solid color, there is no need for stencils. Stencils are only for those who want a specific pattern or design on their gun.
Apply clear coat
One of the most important steps in spray painting is applying a clear coat. If you don’t apply a clear coat, your paint will chip and peel off easily.
Applying a clear coat will help your paint last much longer and make your gun look more professional.
Let it dry
After applying the clear coat, you must leave your gun to dry. You can allow it 24 to 72 hours before heading to the battlefield.
Peel off the masking tape
After you’ve sprayed your gun and it has dried, you’ll need to take the masking tape off.
Reassemble your gun
To reassemble your gun, you will need some tools like a screwdriver. Make sure you put everything back in the right place, or else your gun won’t work properly!
Why Should You Paint Your Paintball Gun?
When you first get your hands on a paintball gun, you’ll see that it comes in bold colors. The bright red, blue, green, and yellow guns seem pretty unassuming to most people.
However, once you begin playing paintball, you’ll soon discover that they are anything but unassuming. Then, you’ll start thinking of changing the color of your gun.
These guns often feature a unique design or customization that sets them apart. Painting can be a great way to personalize your marker and make it stand out, especially if you want to add flair to your game!
There are several reasons why you might want to paint your gun. For example, some markers have intricate designs, so painting the gun can give it a more aesthetically pleasing look.
You may also want to paint your gun to gain a tactical advantage in terms of camouflage. For example, if you play in a green forest, you may want to paint your gun green to blend in with the environment and be stealthy.
In addition, many people like to paint their guns in contrasting colors to break up the monotony of the overall design. For example, if you have an all-black rifle with silver accents, this will easily stand out from the crowd compared to other black rifles.
Cool Color Ideas For Your Paintball Gun
So you’ve found the perfect paintball gun with a comfortable feel and sleek design. You’re ready to take this bad boy out on the field.
The only problem is that it’s not the right color. Maybe it’s all black, or it just doesn’t stand out enough in your mind.
Don’t worry – that won’t stop you from being amazing! With these cool color ideas for your paintball gun, you can give yourself an edge in any game, no matter what kind of camo your teammates are wearing!
1. Blue and Yellow
Blue and yellow are very bold colors, so if you want to stick out from the rest of the team, this could be the way to go.
Blue is a classic color in the sport, but adding more color allows you to separate yourself from the rest of the pack!
Blue and yellow are both very vibrant and attention-grabbing colors. In addition, blue is calming, and yellow is an energizing color.
2. Red and Black
Red and black is a good choice if you want a flashy color that will stand out on the field!
Red is a bold, aggressive color, while black is incredibly stealthy, making this a good choice for any game.
This combination of colors is also popular for paintball markers, which is a great way to make them pop and stand out to help you make an impression on your opponents!
3. Red and White
Red and white is a great choice if you want to go with a patriotic look! The red color is perfect for a heavy-duty gun, while white is lighter and will allow you to hide in the trees or bushes, giving you an advantage.
4. Orange and Blue
If you’re looking for a color that will make your gun pop but don’t want to go with a bold red and black, you might want to consider orange and blue! Orange is a bold, energetic color that is great for woodsball, while blue is very subtle and is perfect for scenario paintball.
5. Green and Black
If you like having a subtle green paintball gun but don’t want to go with orange or blue, you can always go for green and black! This is a natural color combination, making it perfect for scenario paintball.
6. Black on White
If you want a cool color combination that is very subtle and very cool, black on white is the way to go! Black on white is also very eye-catching, making it perfect for any game! Black is also a very durable color, so it’s great for markers that will be taken out on the field a lot.
Conclusion
A paintball gun is a great way to have fun, but most people don’t know how to paint a paintball gun. We’ve given you a step-by-step guide to painting your paintball gun.
Painting can generally be done using three methods; anodizing, powder coating, or spray paint. To be successful at painting a paintball gun, you must choose the right paint type and appropriate tools.